Installing corner channel drains can be done in one of two ways. There’s the quad-section method or the alternative method of cutting a drain. So, you’re set with the basic drain structure, but what about the corners of the drain system? Well, you’ll learn about how to install a corner channel drain via this guide and ensure the system functions long-term.
See our dedicated guide on how to install a channel drain for a comprehensive process on installing a channel drain.
Table of contents
What are the methods for installing a channel drain?
The two main ways to create a corner channel drain are the quad section method and cutting a drain. Though each installation method is similar, the placement of the corner pieces is essential. The “L”-shaped corner, which is typically standard, alongside the “T”-shaped style corner and other corner types, can be a little more challenging to install but is still possible.
The following sections will explain each of the two methods above and how you can use them in your channel drain structure.
Method 1: The quad system
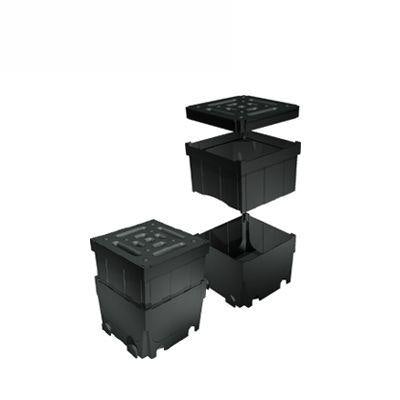
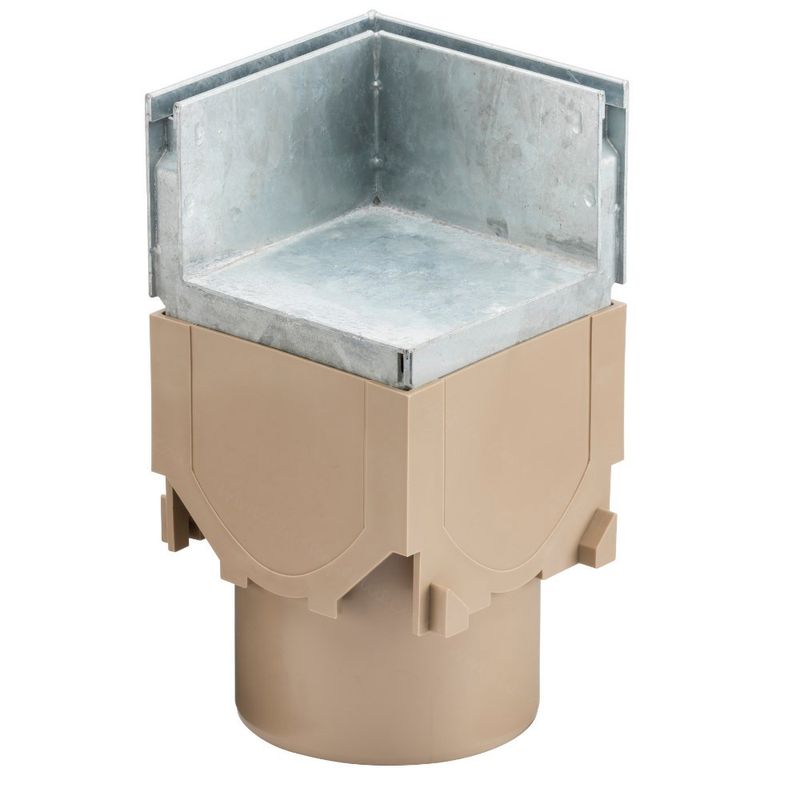
A quad section can be one of the easier ways to install a corner channel drain. Many ranges already have these available to complement their standard line channel drain components. Not only can they be placed without the need to cut to a specific size, but they come in a wide variety of sizes to suit the channel drain you’re installing.
By placing the quad connector, you can ensure that the drain is flowing in the right direction. Using an end cap, you can block the channels that are not needed and, as a result, allow the water or sewage to flow through the drain the correct way without issue.

Method 2: Cutting the drain down to size
If the manufacturer does not include quad connectors, you will need to cut where the two pieces will connect at the corner to create one. Corner sections must be joined in order to form a 90° angle.
Keep in mind that these can be rather difficult to create and take up much of your time. Therefore, be sure to schedule time for creating the corner unit. After completing this, you can proceed to the installation by completing the subsequent steps.

Step 1: Positioning the corner channel drain
First, make sure that the current set pieces of drain to which your additional part will connect extend past the end of the wall where the channel drain’s line is currently against. If this has been done, place the remaining part of the channel drain’s corner in the desired position for marking.
Step 2: The markings
You have installed the corner drain and are now ready to start marking. Mark with a pencil or sharp marking point where each drain piece must be cut to ensure that the corner unit fits properly.
Step 3: Cutting the drain parts
Where you have marked the first line drain piece, use a cut-off saw, angle grinder, or hand saw to cut off the spare drain length. This allows the corner unit to be accommodated after the cutting process. Ensure that this is correct, and that any debris, as with the channel drain line, is removed prior to installation to reduce the risk of leaks.
Step 4: Connecting the parts
Following the cutting process, you can now place the connection piece into position and join the units together. This can be accomplished in the same way as a standard channel drain unit. Slide the unit into the clean connection piece and then gently tap it into place using a mallet or similar hammering-type tool.

Step 5: First set of checks
Although not always a priority for drains of a shorter length, you should check for signs of fall in each direction. Short runs of channel drains can be at risk of backfall.
What is backfall?
Backfall is when water or sewage could be at risk of trapping at a lower point, meaning no suitable draining can take place. That is why you will need to ensure that the drain has a fall towards the main channel line to allow the excess material to escape the system.
As a guide, a 1:100 type fall can be suitable for smooth drainage fittings.
Step: 6: Fitting the short end
You want to fit the final part of the corner. As before, measure and cut the length of the channel required to fit against the wall of the property. Before you install the channel, attach the end cap to the short section to ensure that it can be installed correctly later.
As with previous drain pieces, clean and fit the connection piece. This is followed by the short section and the end, before finally attaching the end cap to the corner unit.
REMINDER: Although this is a basic guide, we recommend you follow manufacturer instructions if provided.

This is just the beginning of channel drainage solutions. There is plenty where that came from, which you can learn more about in our channel drain guides. Alternatively, browse our website for a variety of drainage products to meet your specific project needs, or contact our super team via the helpline or live chat for support.


