Underground drainage pipes are a very important and common item in everyday construction.
And if you’re looking to buy PVC underground pipes, you may have heard that experts recommend that you chamfer a PVC pipe before use.
In fact, you should not assemble PVC pipe without chamfering it prior to assembly.
At this point, you’re probably wondering:
What does chamfer mean exactly?
Our guide will explain what chamfer is and why you should chamfer PVC pipe before use.
Read on.
Table of contents:
What is chamfering?
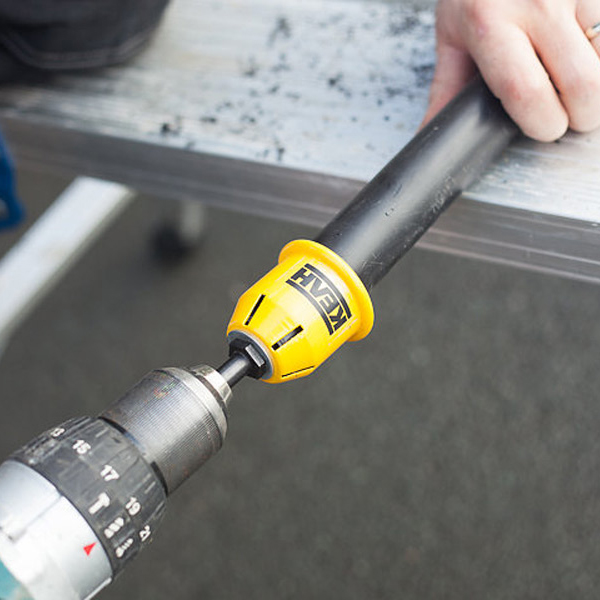
Chamfering is the process of making a smooth edge or bevel on a material with a straight or rough edge. You do this to make the pipe smoother and easier to fit into a connector.
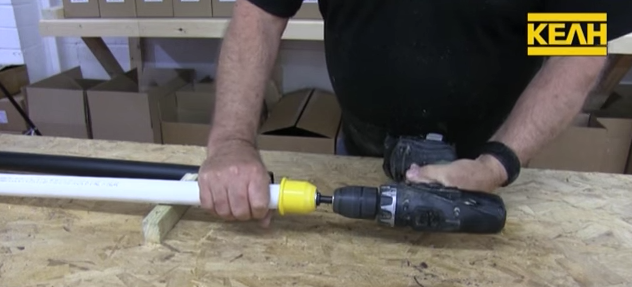
Chamfering is commonly performed on metal, plastic or wood materials using various tools such as chamfer mills, countersinks or chamfer planes. The tools used for chamfering can be handheld or machine-mounted, depending on the complexity and precision required.
If there are sharp edges on the pipe when it is pushed into a joining socket, it will act like a knife and push any sealant that may be placed ahead of it. This will result in a poor-quality join, and leaking may occur further down the line.
Accordingly, you should make sure that any pipework is properly chamfered before assembling it. This way, you can avoid larger and more costly problems later.
How to chamfer PVC pipe

Chamfering PVC pipe requires either filing, scraping or grinding away the outer 90-degree angle on the end. This is to make sure that there are no sharp edges.
The size and angle of the chamfer are determined based on the specific requirements of the application. The angle is typically specified in degrees, such as a 45-degree chamfer or a 60-degree chamfer. The width of the chamfer is determined by the distance from the edge of the workpiece to the point where the chamfer starts.
Here’s a step-by-step guide on how to chamfer a PVC pipe:
Gather the necessary tools
You will need a PVC pipe cutter, a deburring tool, sandpaper, tape measure and a pencil.
Measure and mark the desired length
Use a measuring tape or ruler to determine the length you need for the pipe. Mark the measurement on the PVC pipe using a pencil or marker.
Cut the pipe
Place the marked section of the pipe inside the PVC pipe cutter, aligning the blade with the mark. Apply steady pressure and rotate the cutter around the pipe, gradually tightening the blade until the cut is complete. Ensure that the cut is straight and even.
Remove burrs
After cutting the pipe, there may be sharp burrs or rough edges on the inside and outside of the pipe. Make sure you use a deburring tool specifically designed for PVC pipes to remove these burrs. Insert the deburring tool into the cut end of the pipe and rotate it in a circular motion. Continue until the burrs are smoothed out.

Chamfer the edge
To create the chamfered edge, use sandpaper or a file. Fold a small piece of sandpaper and hold it at a 45-degree angle to the cut end of the pipe. Gently rub the sandpaper against the outer edge, rotating it around the circumference of the pipe. This will gradually bevel the edge, creating the chamfer. Be careful not to apply too much pressure or remove too much material.
Inspect the chamfer
Once you’ve chamfered the edge, inspect it to ensure it is smooth and bevelled uniformly around the circumference. If needed, make adjustments by repeating the sanding process until the desired chamfer is achieved.
When to replace PVC pipe
Sometimes, you will be unable to properly chamfer PVC pipe due to its location. In this case, you will need to make a choice to replace a larger section of the pipe so that the correct procedure can be followed.
While it can seem like a radical solution that will require more manpower and time, a cracked joint in the repair will undoubtedly lead to much more downtime later on, as well as extra costs and hassle.
So, you should ideally chamfer PVC pipe before it is put in place.
If you would like any extra advice or assistance about how to chamfer PVC pipe, call our drainage experts on 01752 692 221.


